After reviewing bag 1, I will proceed to bag 2, 3 and 4 plus the 3 loose bricks. These are the ingredients needed to construct the Neptune Carrier.
Neptune Carrier
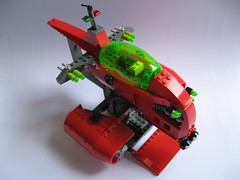
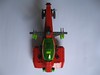
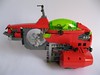
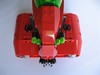
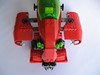
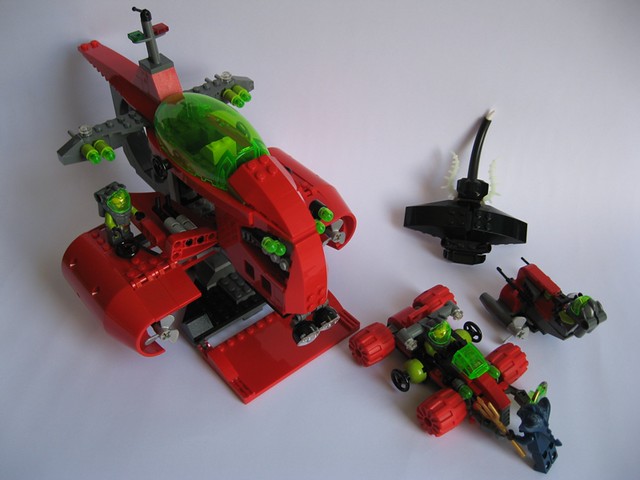
I would say that it is quite a simple task to construct the Neptune Carrier as there is not much bricks used. Below are the shot of Neptune Carrier from different angle without another two vehicle attach:
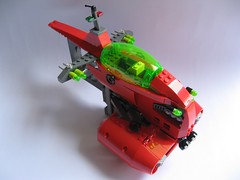
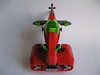
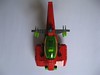
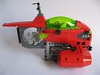
The pictures above are the Neptune Carrier done assembling from bag 2, 3 and 4 plus the 3 loose bricks. The picture below shows the Neptune Carrier that opening the bay to deploy seabed rover:
As for here onwards, I will attach everything in it. So below are the pictures (stickers not apply):
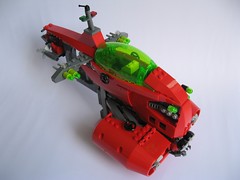
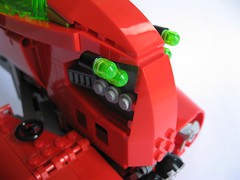
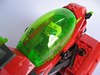
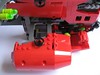
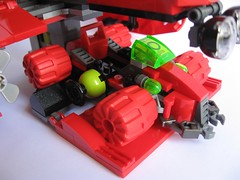
Now here's the front detail which I like it very much. It seems like Bionicle Barraki eyes didn't goes on a waste as TLG turn them into headlights of submarine and torpedo too. Below are the picture:
While this picture below show us the bottom spotlight with the seabed rover inside the bay:

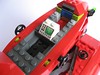
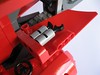
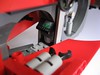
Next the cockpit, we see that there are ample of spaces at the front and behind the monitor, the empty space in front monitor can't be placed a minifig because the windscreen has took a space, maybe they can place their flipper or headgear there.
While this picture below show us the bottom spotlight with the seabed rover inside the bay:
Next the cockpit, we see that there are ample of spaces at the front and behind the monitor, the empty space in front monitor can't be placed a minifig because the windscreen has took a space, maybe they can place their flipper or headgear there.
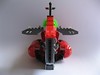
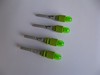
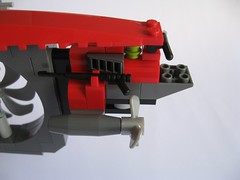
Here's the flick-fire torpedo fin. There are two kinds of torpedo whereby one is slightly bigger, I mean longer. Below are the pictures:
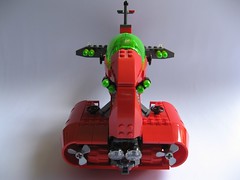
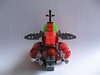
Now here's the big propeller fan at the rear of the carrier. This is sure a big propeller, and it can turn 360 degree. But it is very loose, turn easily.

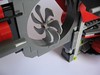
At the very back of the carrier, is where the scout mini-sub is attach. I attach it at the second hole from above since there is no instruction of where to attach it. It still can slightly move, but is tight and won't fall off easily.
Now here's the big propeller fan at the rear of the carrier. This is sure a big propeller, and it can turn 360 degree. But it is very loose, turn easily.
At the very back of the carrier, is where the scout mini-sub is attach. I attach it at the second hole from above since there is no instruction of where to attach it. It still can slightly move, but is tight and won't fall off easily.
Now to the middle compartment where they store their equipments like harpoons, axe and spanner. The left hatch of the compartment store harpoons while the right store an axe and spanner. You can also see a monitor in there but no place to hang their flipper.
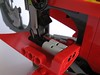
I do try to attach a diver fig with headgear on standing inside this middle compartment, but it doesn't seems to nicely fit in. Maybe they can be attach in sitting position.
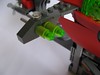
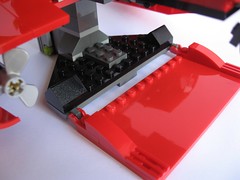
Finally, the to the function that I am curious of, the seabed rover bay. I was wondering how they hide the seabed rover, but finally the secret reveal. They just move the compartment on both the side to the back and it will reveal the seabed rover.
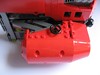
You can see the two pictures on top of this line, and pay attention to the grey tile and below here shows the bay.
Finally, the to the function that I am curious of, the seabed rover bay. I was wondering how they hide the seabed rover, but finally the secret reveal. They just move the compartment on both the side to the back and it will reveal the seabed rover.
You can see the two pictures on top of this line, and pay attention to the grey tile and below here shows the bay.
You have to push the read plate upside for once to ensure your seabed rover didn't fall off when you swoosh around with the carrier.
Completed model
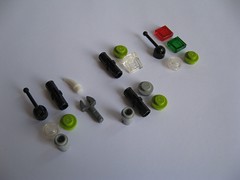
Extra pieces
This is the reason why I like TLG to number the bags of bricks as each bag will contain some extra pieces every time you done assembling them. They are arrange this way because they are from different bag.Completed model
I think the happy fans of Atlantis must own this set, this is best vehicle the diver team have up to date. Is really cool with a lot of functions.
Playability: 10/10 I like all of the functions that this set have, they are just great!
Design: 9/10 The carrier is very well design, maybe smaller compare to the cartoon.
Price: 7/10 Is worth to get this thing.
Overall: 9/10 This set include you playability, nice design, a lot of minifigs, extra parts, what else we can ask for from this set?
*This set wins the National Parenting Seal of Approval award. (I don't know what award is this though)
Price: 7/10 Is worth to get this thing.
Overall: 9/10 This set include you playability, nice design, a lot of minifigs, extra parts, what else we can ask for from this set?
*This set wins the National Parenting Seal of Approval award. (I don't know what award is this though)

No comments:
Post a Comment